1.Lay out all materials/supplies. Pull up the Maker Box 12 visual guide on the blog.

2.Cut out Santa Face pattern circle from the enclosed card stock.

3.Trace the Santa Face pattern on desired felt skin tone color and and cut out. Set aside.


4.Trace another Santa Face pattern on the stiff white felt (paper side up). Set aside.

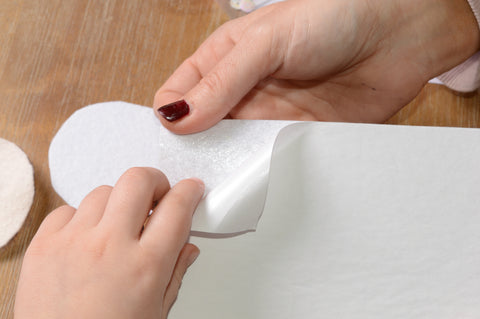
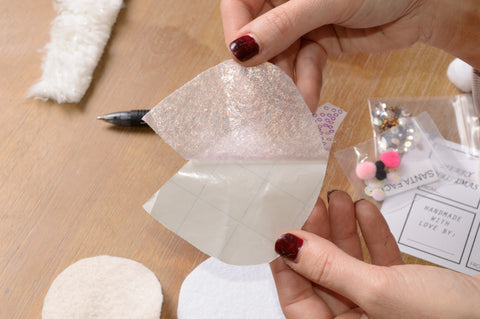
5.Now take Santa’s hat and peel the paper backing off. Peel the paper off a section of the remaining sticky felt. Press sticky sides of both pieces together. Cut out around hat. Set aside.


6.Next, we will make the beard and hair. Take the cream yarn and untie. Set the small piece of yarn used to tie the thick yarn aside. (This will be the eyebrows in a later step).

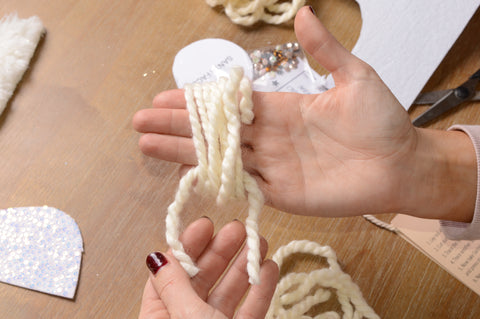
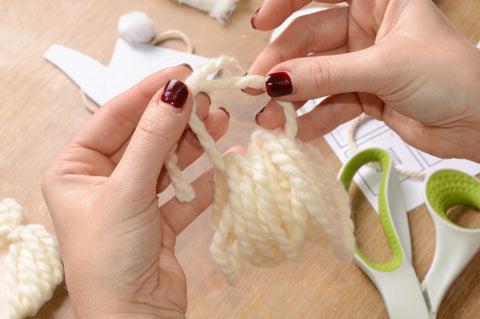
7.For the hair, wrap the chunky yarn 8 times around your four fingers and cut. Cut
another 6 inch piece to tie the gathered yarn together.


8.Pinch the knotted side and cut the opposite side between the loops.

9.The knot should be in the center. Now add hot glue to the top part of your felt circle and press the hair on.


10.Smooth out the hair on each side of the head and flip over. Add some hot glue to the back side of the felt and fold the hair over.


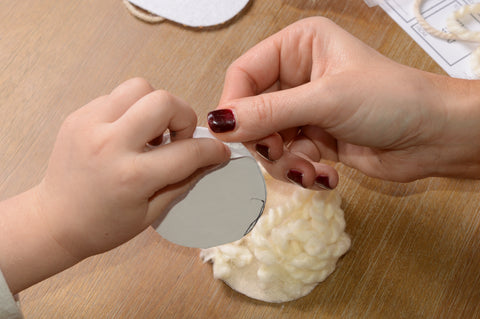
11.Now grab the white stiff felt circle you cut out and peel and stick it to the back to
sandwich the yarn hair. You can add some hot glue to it for extra securing.


12.Next we will make the beard the same way. This time wrap the rest of the chunky yarn around your 4 fingers 15 times. Cut another piece approximately 6 inches long and knot. Do not cut this one. Now you’ve made the loopy beard.


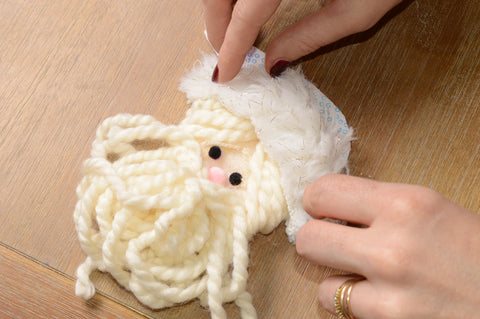
13.Add glue to the bottom half of the felt circle and press beard on with knot in center. You have now made Santa’s beard!


14.Now you can add eyes and a nose! Choose which pink nose you prefer and add it right above the knotted beard.

15.Next add the eyes. Glue the small black poms on the white sequins and glue on face.


16.Now you can add some eyebrows if you’d like. Simply cut some small pieces off of the thin yarn you set aside in step 6 and hot glue into place above the eyes.


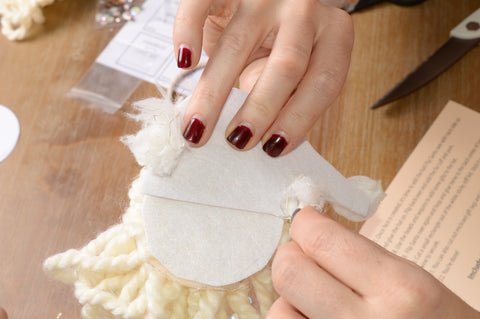
17.Once face is created, it’s time to add the hat! Flip Santa over with back side up
and glue the hat on. Flip back over and add the fur cuff and pom. Trim or fold over
and glue excess of fur cuff.
and glue the hat on. Flip back over and add the fur cuff and pom. Trim or fold over
and glue excess of fur cuff.


18.Use the beads and sequins to add some glitz to the hat.

19.Flip Santa over again and loop and glue twine to the back center of Santa.

20.Cut a small rectangle out of the white sticky stiff felt. Stick it over the top of the
twine to secure.


21.You can also cut out enclosed gift tags and glue on the back for easy gifting!

22.You’re done!
Leave a comment